Showing posts with label baking. Show all posts

Monday, April 23, 2012

Making do: Creating a Onesie Cutout Cookie

Last week I was making cookies for a baby shower at work.  My go-to place for cookie cutters (a small bulk food store close to home) had a cute elephant and I found a neat sun-burst cutter that I decided I would use for a lion to fit the shower's jungle theme.  But I really wanted a onesie cookie cutter.  Being the procrastinator I am, I was shopping 2-3 days before I wanted to make the cookies.  No time for online purchases and shipping (and the inevitable $20 I'd throw in the cart with it).  So I got creative.
Baby Shower cookies
I began with a gingerbread woman cutout (I didn't think a gingerbread man cutout would do as it wouldn't give the little middle piece between te legs). However, I found that using a ghost cutter also worked with a little more hand shaping it actually was less rounded.

To begin: roll your dough and cut out the pieces. You don't need to worry about making complete cookies as you'll be beheading them in addition to cutting off the hands and rounding them out to make the leg holes.
Lots of overlapping pieces to cut down on the amount of scraps to reroll.

Peel away the extra dough and move your cookies away from each other to keep from cutting the others.

Create the collar by rounding the neck with a round cutter.
If necessary, shape to make the onesie cookie straighter.  Then round the leg holes with a round cookie cutter.

Cut off the arms to make cap sleeves.
Bake. Decorate. Enjoy!

Yes, this is several somewhat tedious steps and produces lots of scraps, but for the procrastinator, it works.

Some other things I noticed while working:
Instead of a onesie make a dress! Less cutting. And still super cute. (and less messing up the leg holes).  You might want to trim off the feet in addition to rounding the head and cutting the arms into sleeves.  Have a straight-edged dress or make it riffled with a pastry wheel.

Use a fluted round for frilly neck lines and leg holes to make it a little more girly.

Saturday, December 10, 2011

Stumped Shopping? Things the Crafters on Your List Never Knew They Needed

Christmas is rapidly approaching, and if your shopping is anything like mine, it's getting to be crunch time.  Or perhaps you're just not sure of what to ask for- you have everything you need, right?

Well, here are a couple ideas for the baker/crafter on your list.  Or maybe some new items you just didn't know you needed.

Counter-Saving Cooling Rack
No matter how much counter space you have, you can always use more.  My sister got these cooling racks for me last year for Christmas and I don't know what I would do without them!  I have two, and sometimes even then I wish I had a third.  Such a great space-saver, and folds flat for storage when not in use.  Sometimes the bottom one is a little difficult to fold, but the effort is worth it.

Measure-All Cup
This measuring cup is amazing.  Just push up to the amount you need, fill, and pop it out!  Get every bit of that peanut butter, corn syrup, or shortening you were using without the hassle of scraping it out of the measuring cup.  I like the Pampered Chef one ($10 for the two-cup, $6 for the smaller one-cup)- the Pampered Chef one is unique because it allows you to flip the cup over and use it as a liquid measuring cup and both imperial and metric units (with increments as small as 10 mL and 1 teaspoon).


Quick Turn Fabric Tube Turner
Fabric Tube Turner
This Dritz Quick Turn turns the pain of making straps into a breeze.  The first time I used these I couldn't believe how simple it was.  I had been trying to turn a strap for an apron for my niece, and finally went searching for a tool to help me.  For under $5 at JoAnn's (in our store, not shown online), it made me want to make more aprons.  I know they say you can't buy love, but give this to the crafter on your list and you'll automatically become their favorite person ever.


Stamps - you can get many stamps for $1 at JoAnn's, Pat Catan's, Michael's, and sometimes even the dollar store.  They usually change with the seasons, so there's always something new and different in the dollar section.  If you want to spend more you can get great sets of stamps.  I prefer clear stamps, but still get excited over any stamps I get.

If they already have stamps, how about some cool ink pads?  The glue ink pad with glitter to sprinkle on is on my list this year.

What's on your wish list this year?


Blogger's note: I was not asked to give reviews for any of these products, nor compensated for these reviews.  They're just some of my favorite products that I wanted to share!

Thursday, November 10, 2011

A Sweet Thank You to our Veterans: Chocolate Camo Cake

It's easy to get caught up in our lives- in work, in social events, in the daily grind.  It's so simple to forget about our history and the people who have served our country.  Whether you agree with politicians or not, and whether you support the issues going on overseas in the present (or in the past), one thing that I think all people can agree with is that our country's soldiers face a great deal of danger.  They bravely face these dangers doing what they feel they can to serve our country.  Today is a day to honor these soldiers, those who have left their families and risked their lives serving our country.

My grandfather served in World War II, and my father and uncle both served in Korea.  Once a month my grandma makes dinner for a handful of veterans as a way to say thank you.  These men have certainly faced a lot- from head injuries to emotional turmoil.

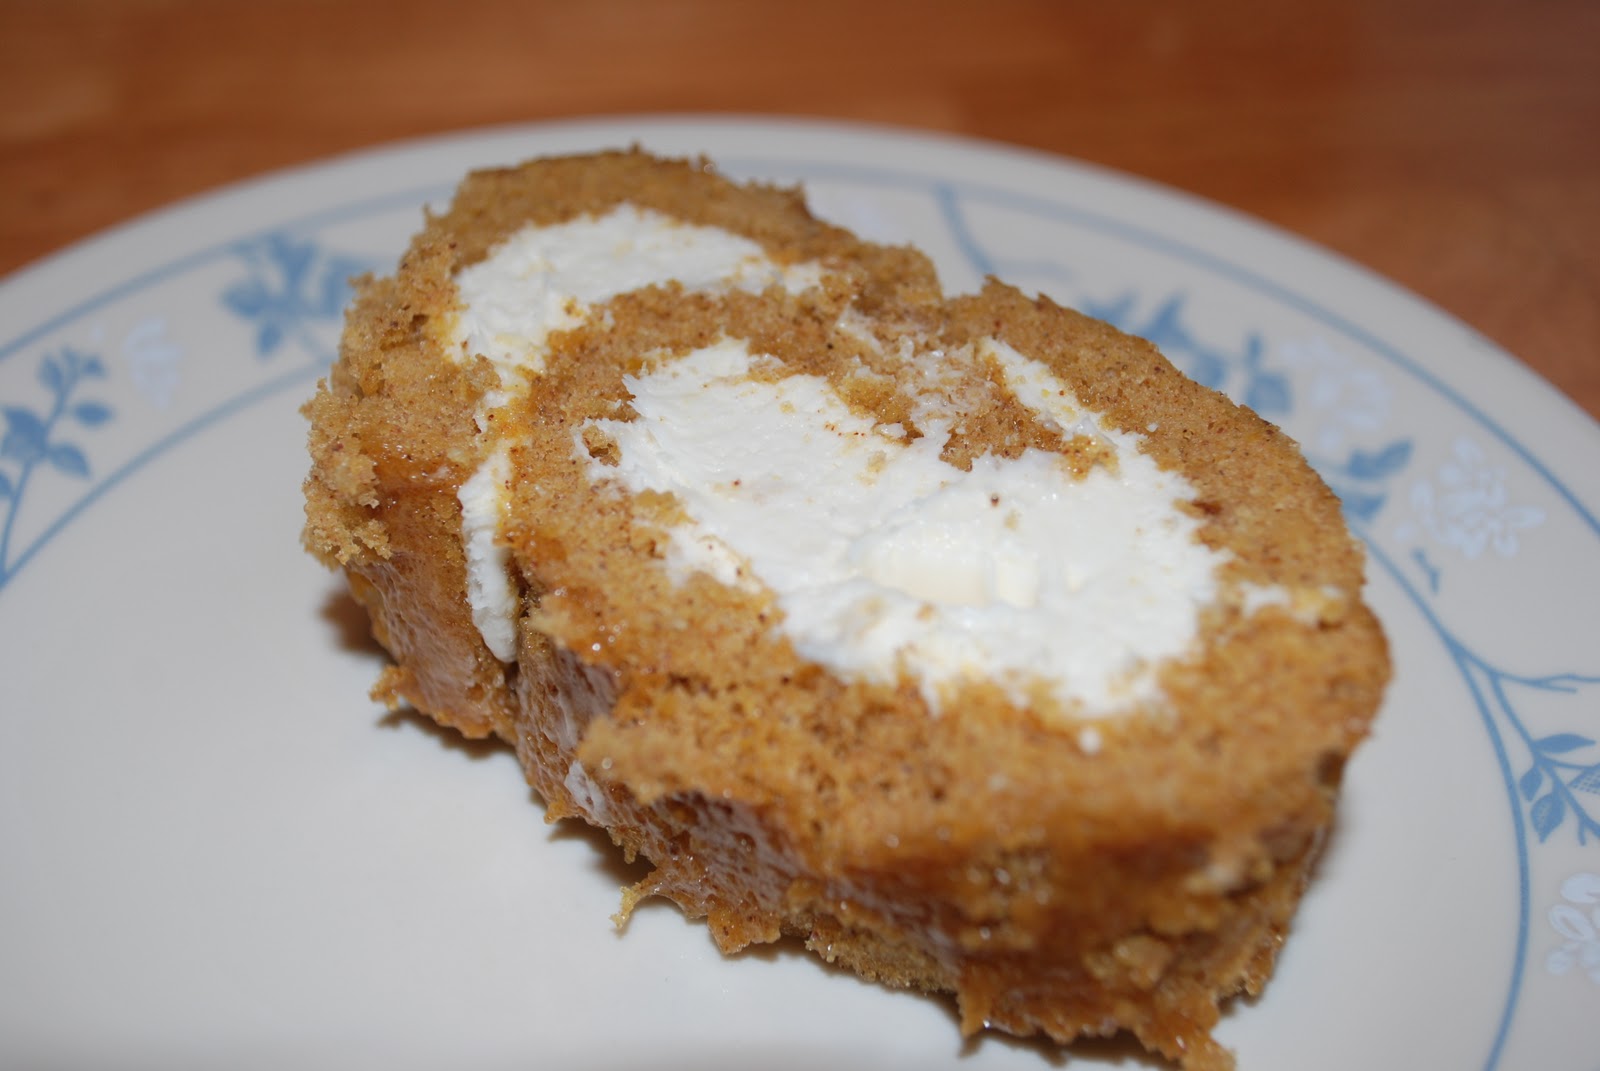
This month I made them a cake.


I love this chocolate camo and wanted to share the technique with you.  It can be prepared ahead of time to make a simple, easy decoration on a cake.  It also beats flowers and ruffle boarders for guys who hate frilly stuff (soldiers and hunters are prime examples).

You will need:
Black Chocolate Wafers (Merkens black chocolate tastes like Oreos.  Not even kidding)
Dark Chocolate Wafers
Milk Chocolate Wafers
Dark Green Chocolate Wafers
White Chocolate Wafers
Parchment Paper (needs to be slightly longer than the sides of the cake you want to cover or size pieces you want to have)

The amount you need will vary depending on the size cake you're making, but using so many colors I needed maybe one third to one half cup of each color (my estimates are extremely generous) for a quarter sheet cake.

Melt the chocolate.  I used a nifty warming tray my mom had that becomes a buffet server.  This particular warming tray had temperature control, allowing me to set it on low and put the chocolate in glass dishes in a water bath.  (I have used a warming tray in the past without temperature control, but for whatever reason lately it has been burning the more delicate chocolates- white and colors.)


Chocolate burns easily so you want to melt your chocolate slow and low.  Other options include microwaving in 15 second intervals.  Dark and milk chocolate can be melted at half power.  White and colored chocolate should be melted at 40% power.  I've been told that putting chocolate in glass dishes in a water bath in an electric skillet set low also works.

I melted black chocolate, milk chocolate, dark chocolate, and green chocolate.  I didn't like the original color of the green chocolate so I added a little bit of the dark chocolate to it to make it fit in the color scheme better.  I also made light brown by adding some milk or dark chocolate to white chocolate and light green by adding some of my darker green to white.  I don't have exact amounts, but add a couple pieces or a small spoonful of the colored chocolate at a time until you get a color that you like.

Once your chocolate is melted, you will start doling it out onto the parchment paper.  I made mine slightly longer than the sides of my cake just to make sure it fit nicely.  I work from dark to light in my chocolate, to keep dark chocolate from showing through lighter chocolate as the new layers inevitably overlap the old.
I used another piece of parchment paper as a guide to make sure my line was straight.

Make spaced out drops of black chocolate with a spoon.  You don't need a lot of chocolate on the spoon.  Spread it around a little in different shapes to resemble the random shapes in traditional camouflage.  Once you finish with one color it should be somewhat set (unless you're some kind of crazy speed demon you don't need to wait any), it just needs to be set enough to not smear into the next color.
Black chocolate.  Remember that you have several other colors too add!

Add dark chocolate in the same manner, overlapping on some of the black pieces and adding some pieces not touching the black.  Try to make it look random.  Follow suit with dark green, milk, light green, and light brown chocolates.
Adding dark chocolate
Adding dark green chocolate.
A few spaces left to fill in.
Completed Chocolate Sides


Fill in any empty spaces.  You'll know what color to use by what is already surrounding the empty spaces.


Frost the cake, making the frosting a little heavier on the sides.  This will make sure that all of the chocolate is attached to the cake, allow something for the somewhat bumpy chocolate pieces to sink into and help keep it from cracking.

Next, determine exactly how long you need your pieces of chocolate to be. (I laid a piece of parchment paper next to the cake and marked it to determine an exact length, then was able to lay that same piece next to the chocolate.)  I peeled the strips of chocolate off the paper first, then cut the pieces of chocolate to that length.  To prevent cracking make sure the flat side of the chocolate is down and use a hot knife (if you still have your warming tray on just stick the blade against the surface for a few seconds to warm it).


Place the cut pieces flat side out on the sides of the cake, sinking the rough side into the frosting.

I know it's a hunting cake, but this camo looks awesome on chocolate frosting!

Voila!  Simple, masculine, camouflage cake.

Thank you to all who have served.

Monday, November 7, 2011

A Piece of Cake: Easy Pumpkin Cake

Pumpkin has been on the menu a lot lately, and I realized I left you hanging telling you how to roast pumpkin without giving you a way to use it.  I'm a fan of delicious, and when delicious is quick and easy, it's major bonus points.  Both of the recipes I've been using for pumpkin cake are cake-mix-based, making them simple and quick.

Moist Pumpkin Cake
This recipe is from a recent issue of the Kraft Food & Family magazine, originally intended for cupcakes but still makes a great cake.  A spice cake is recommended, but for less spice, you could use a yellow or white cake mix and add a tablespoon of pumpkin pie spice.

1 spice cake mix
1 cup sour cream
15 ounces fresh pumpkin (or one 15 ounce can of pumpkin)
1/4 cup oil
3 eggs

Preheat the oven to 350 degrees. Mix the cake mix, sour cream, pumpkin, oil and eggs together.  Bake 25 minutes, or until a toothpick inserted comes out clean.

Easy Pumpkin Cake
This recipe also uses a cake mix and doesn't come out quite as moist, but is a little more stable if you're going to carve the cake.

Follow the directions for a yellow or white cake mix, using 1/3 to 1/2 cup less water than called for and adding 15 ounces fresh pumpkin (or one 15 ounce can).

Bake according to the directions, until a toothpick inserted into the cake comes out clean.

Pumpkin pumpkin cake? Yes, please!

Now to convince my mother that pumpkin cake is better with cream cheese frosting rather than whipped cream...

Sunday, October 23, 2011

Fall Flavors: Fresh Pumpkin

Fall brings with it an insatiable desire to bake treats laced with the warm, comforting flavors of fall.  (Okay, so the urge might be to eat these delicious desserts rather than make them.)  One of the most prominent autumnal flavors is pumpkin.

Somehow every year Libby makes horrifying cries of pumpkin shortages.  You have nightmares of visiting every supermarket in town, searching for pumpkin and imagine Thanksgiving without pumpkin pie, and Christmas without pumpkin roll.  You worry about the cost of pumpkin with supply short and demand high, wondering who will be cut from the Christmas gift list to put pumpkin back on the menu.  Okay so maybe it's not this dramatic, but you can save yourself a lot of headache and stress over pumpkin shortages (and get a better tasting, fresher, and local product) by making your own pumpkin puree.

Roasting pie pumpkins is easier than it sounds.  Trust me.

Selecting Your Pumpkin
Many local farmers markets and have a wonderful selection of pie pumpkins.  Many people use these cute little pumpkins for decoration, but inside lies a sweet, fresh, delicate flesh- perfect for satisfying those fall cravings.

Darker pumpkins that have some speckles on them are sweeter.  If you are not planning to cook your pumpkins soon and intend to store them for a while, check them thoroughly for nicks and soft spots, as this is where rotting will begin.  Don't forget to check the bottom and around the stem.

If you have a cool, dry place such as a fruit cellar or cool garage, you can store whole pie pumpkins. Stored in these conditions they can keep for a while (at room temperature a couple pumpkins lasted about only two weeks on my kitchen counter).  Washing the pumpkins (or any fall squash) before storage can help extend the life of the squash extensively.  My uncle swears by a light bleach solution, saying he has stored squash into the spring and early summer using it (although sources say pumpkins will store for 2-3 months).  The solution should be 1 part bleach to 10 parts water.  And the bonus of this- extra freezer space and pumpkin seeds in the middle of winter!

Roasting Your Pumpkin
Preheat the oven to 375 degrees.  Cut your pumpkin in half, scoop out the seeds and pulp (save the seeds for some awesome cinnamon or spicy pumpkin seeds).

Pour some water onto a baking sheet and place the pumpkin halves with the flesh side down and outter skin facing up.
Bake the pumpkin for an hour or until a knife is easily inserted, meeting little resistance (like making a baked potato).

Pureeing the Pumpkin
Once the pumpkin has cooled enough to handle, peel the skin from the pumpkin and break into chunks.  Drain the pumpkin in a colander, then process the pumpkin in a food processor until smooth.  If the pumpkin is still watery after it sits, skim off the water.


Storing Pumpkin
My grandparents always canned their puree, but there are a lot of variables that go into packing an non-acidic food that can make it unsafe.  However, the puree can be frozen in ziplock bags or containers.

Next....make some cake!  Bake a pie!  Mix up a pumpkin roll!  Cook some pumpkin soup!
Sweet inspiration...


And if tasting this pumpkin and the fresher flavor of your fall favorites isn't enough, the two pumpkins I roasted ($1 each at Molnar Farms) made just over two pounds of puree, bringing the cost of pumpkin to about 6 cents per ounce as compared to Libby's at almost 14 cents per ounce!

What is your favorite pumpkin recipe?

Tuesday, October 18, 2011

Spooky Sweet Treats: Halloween Cupcakes

I am not sure where summer went, but sure enough fall is here.  I feel I have neglected you, dear readers, and thus in the waning hours of National Chocolate Cupcake Day, I bring you a handful of wonderful Halloween cupcake ideas, with plenty of time left to make them for Halloween.


"Mummycakes"
I made these by spreading a thin layer of frosting over the entire cupcake.  Then I spread some black frosting over the spot where the eyes would go (brown or chocolate frosting would also look good and may not bleed as black tends to do after a while).  I used a #44 tip (you can also use a basketweave tip with the textured part facing down and flat side up) to pipe lines across the cupcake, leaving room for candy eyes.  If you don't have candy eyes, just pipe some white with a larger round tip and then black with a smaller round tip.


Spiders
These were the most popular of my cupcake tray.  I piped the base white with a 2D tip and added Oreo crumbs on top for texture.  I then cut long black licorice strips into pieces about 2 inches long, slid them into the frosting between the layers of the Oreo and attached candy eyes with a dab of frosting.  If you don't have candy eyes, pipe some white and add mini m&m's or a dot of frosting for the center of the eyes.

Melted Witch Cupcakes
Rejoice!  The Wicked Witch of the West is dead!  I made the witches hats with a Keebler's Fudge Stripe cookie turned chocolate side up with a chocolate kiss on top.  I piped a bow with a small writing tip and placed on top of a swirl piped with the same 2D tip as above.

Pumpkin Cupcakes
I made these cupcakes by frosting a pumpkin cupcake flat in orange.  I angled my spatula to add some lines up the sides of the pumpkin.  Then I placed the "stem" (an inch-long piece of pretzel rod dipped in chocolate) in the center and piped vines and leaves.

Batty Cupcakes
The bat is a Wilton candy mold that is a pick that sticks in the cupcake.  I molded the bats with Merkins black chocolate (which amazingly tastes like Oreos) and placed the picks into the cupcakes after topping the cupcake with the 2D tip and adding some festive sprinkles.


Some other inspiration I found after-the-fact:

Which are your favorites?

Monday, September 12, 2011

My Secret Ingredient Revealed

Perhaps I just need to get this out of my system so my boyfriend, family, and friends don't have to listen to me obsess over it so much.  But it's just that good, I want to shout it for all of Youngstown to hear, and beyond.

Mexican vanilla is amazing.

I'm just out of school, and with student loans and a car payment, I try to save as much as I can.  I don't always buy the absolute best (read: expensive) ingredients, when I know I should, but I never thought anyone would know the difference.  If I couldn't tell, how could I expect anyone else to?

That was until I bought Mexican vanilla.

Vanilla comes from orchids.  Who knew something so pretty could make something so delicious too!

Until now I'd been buying vanilla extract from Sam's Club, GFS, and local bulk food stores.  When my boyfriend and I went to Cozumel on a cruise this spring, I indulged myself with an enormous bottle of Mexican vanilla (32 amazing ounces).  After all, in Mexico it was only $8 (a steal from the $7 I'd been paying for 16 oz).  (You can buy Mexican vanilla online cheaper than in stores--especially if you're buying in bulk, but it's still more expensive than Tone's or GFS extract.)

I came home and opened it- it smelled like heaven (smelling it felt like vacation- a much more mild smell than any other vanilla extract I've used.  The delicateness of the smell and the fact that the extract did not smell like alcohol let off a complex aroma, and I was hooked). I even considered taking a shot of it just for fun. I started using it here and there, in brownies, cookies...everyone said it was good and I thought it tasted good, but I didn't think it was anything too spectacular.

The first time I really noticed an impact on flavor was when I made my niece's baptism cake.  It was the first cake in which I'd made using Mexican vanilla- a white cake filled with custard and frosted with a rich Italian meringue buttercream frosting.  As I sat down and had a piece of my cake, for the first time I thought, "Damn, I make a great cake!" and marveled in the simple, yet fantastic, flavor I was experiencing.

Mexican vanilla was the little something that my baked goods had been missing.  It's most noticeable in lighter items and those items that rely mainly on vanilla for flavor, such as frostings and vanilla ice cream.  It's a much more complex and not so much bold, bringing simple baked goods to life.

Since Mexican vanilla is more expensive, I recommend using less expensive vanilla extract for items where vanilla is meant to compliment a flavor, such as brownies and chocolate ice cream.  Use Mexican vanilla for delicate items that rely on vanilla for flavor- fillings for clothespin cookies, vanilla frosting, vanilla ice cream.  It's worth it.

What is your secret ingredient?