Saturday, December 10, 2011

Stumped Shopping? Things the Crafters on Your List Never Knew They Needed

Christmas is rapidly approaching, and if your shopping is anything like mine, it's getting to be crunch time.  Or perhaps you're just not sure of what to ask for- you have everything you need, right?

Well, here are a couple ideas for the baker/crafter on your list.  Or maybe some new items you just didn't know you needed.

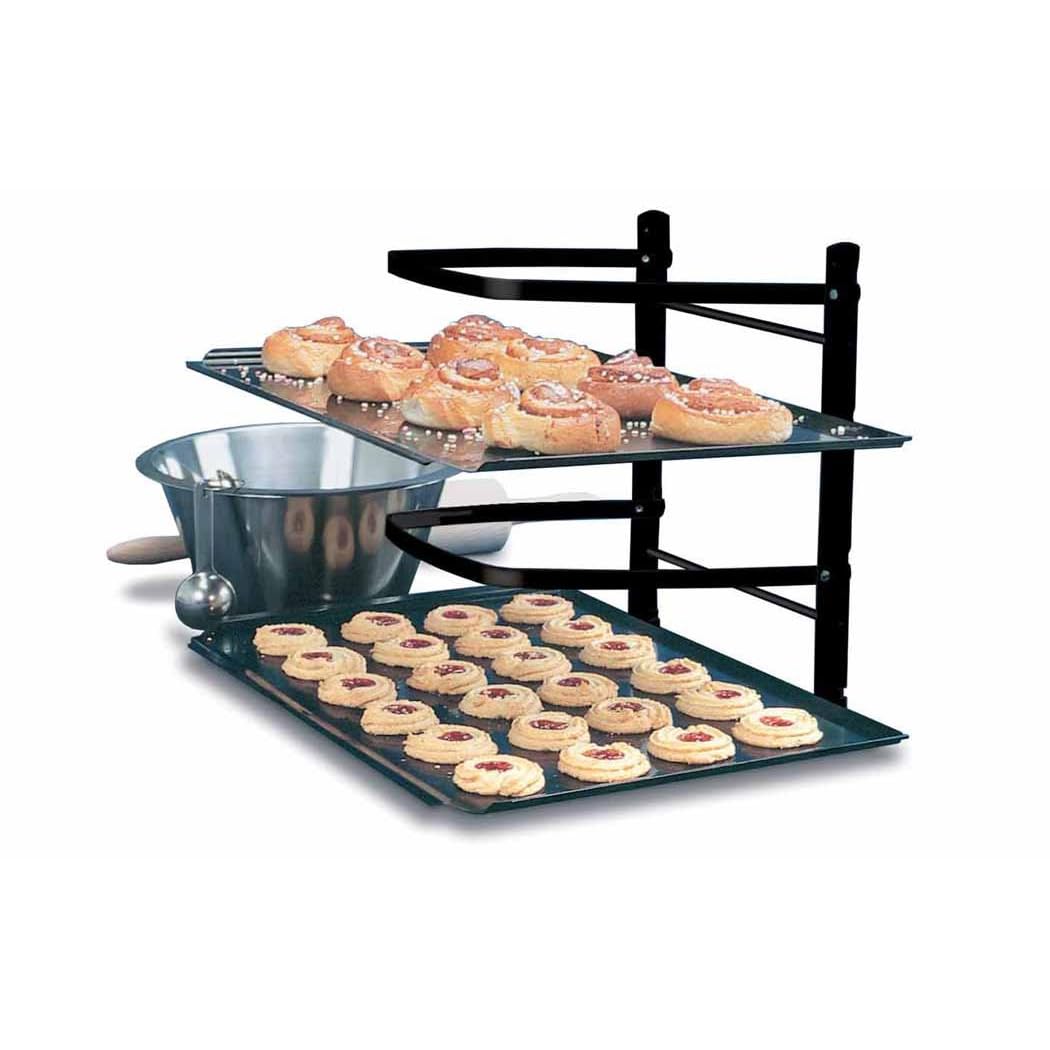
Counter-Saving Cooling Rack
No matter how much counter space you have, you can always use more.  My sister got these cooling racks for me last year for Christmas and I don't know what I would do without them!  I have two, and sometimes even then I wish I had a third.  Such a great space-saver, and folds flat for storage when not in use.  Sometimes the bottom one is a little difficult to fold, but the effort is worth it.

Measure-All Cup
This measuring cup is amazing.  Just push up to the amount you need, fill, and pop it out!  Get every bit of that peanut butter, corn syrup, or shortening you were using without the hassle of scraping it out of the measuring cup.  I like the Pampered Chef one ($10 for the two-cup, $6 for the smaller one-cup)- the Pampered Chef one is unique because it allows you to flip the cup over and use it as a liquid measuring cup and both imperial and metric units (with increments as small as 10 mL and 1 teaspoon).


Quick Turn Fabric Tube Turner
Fabric Tube Turner
This Dritz Quick Turn turns the pain of making straps into a breeze.  The first time I used these I couldn't believe how simple it was.  I had been trying to turn a strap for an apron for my niece, and finally went searching for a tool to help me.  For under $5 at JoAnn's (in our store, not shown online), it made me want to make more aprons.  I know they say you can't buy love, but give this to the crafter on your list and you'll automatically become their favorite person ever.


Stamps - you can get many stamps for $1 at JoAnn's, Pat Catan's, Michael's, and sometimes even the dollar store.  They usually change with the seasons, so there's always something new and different in the dollar section.  If you want to spend more you can get great sets of stamps.  I prefer clear stamps, but still get excited over any stamps I get.

If they already have stamps, how about some cool ink pads?  The glue ink pad with glitter to sprinkle on is on my list this year.

What's on your wish list this year?


Blogger's note: I was not asked to give reviews for any of these products, nor compensated for these reviews.  They're just some of my favorite products that I wanted to share!

Thursday, December 1, 2011

Kids' Book Nook: Making a Pillow for a Bookcase Bench

Earlier I talked about my niece's first birthday and my need to provide somewhat practical gifts- something they won't outgrow quickly- as well as the need for it to be somewhat creative and very personalized.

When my sister-in-law mentioned that they'd like a bookshelf for my niece's room, I began searching the internet for just the right one.  I wanted to make it personal in some way.  They had adorable princess bookshelves and really beautiful maple bookshelves.  Then my creative/practical sides (a dichotomy that surfaces in me quite often) started to voice their opinions.  What if she hates the color pink?  What will she think of this bookcase in five years?  In ten?  If I do anything to personalize this beautiful bookcase I may end up ruining it.  She's a climber- is she going to try to climb to the top shelf?


And then it hit me (okay, maybe browsing at Target helped)- what about a bookcase that's meant to be climbed on?  I liked the one at Target, but I was also attracted to the other cube furniture there that could be used vertically or horizontally, thinking it would be nice to give her something that could be turned upright when she got older and inevitably acquired too much stuff (it happens to everyone, right?).  I began looking for bench bookcases, and it looked like Bed Bath & Beyond had something reasonable, but reviews discussed it needing no tools for assembly, and I became concerned about how sturdy something held together by some two-way tape and a few wooden pegs could be.  I wanted to buy a longer one, but Target only had these in stock, so I bought two (and assembled them myself!).


Then I set off to make the cushion. (I made two)  (More split back pillow and standard pillow case ideas here)

For two ~11 x 23 cushions I used:
1 yard patterned fabric
1/2 yard muslin (I bought the very wide, high quality muslin)
2/3 yard batting

Cut the fabric
For each pillow
Cut two pieces of the muslin 1 1/2 inches longer each way than you want the pillow to be (for mine that was 12 1/2 x 24 1/2 inches)


Cut one piece of the patterned fabric (the front) 1 inch longer than you want the pillow to be (12 x 24 inches)
Cut the back pieces of the pillow- each side will need a half inch seam allowance to hem the seam.  You will also want another inch or two to overlap, so my pieces ended up being 12 x 13 and 12 x 14.
Cut two pieces of the batting to the size you want the pillow to be (11 x 23)
You can cut these on your rotary board if you hold the ruler down tight to the board.


Sew
Fold under and press 3/8 of an inch on one of the shorter sides on each piece of muslin.

With the folds on the outside (your pillow inside out), pin and sew the three remaining sides together with 1/2 inch seam allowance.  Trim the corners and turn the pillow casing right side in.  Put in both thicknesses of batting.

Pin and sew the folded sides together with 1/8 inch seam allowance.

Tack the pillow to keep the batting from sliding while in use.  This can be done by machine or by hand.

I liked the tacking done by hand better because it wasn't as tight.
Back pillow- machine; front pillow- by hand


For the pillowcase
To make the finished edges of your overlapping pieces, fold under 1/4 inch on a shorter edge of each piece of fabric.  Fold under again and press.

Sew along the inner edge of this hem, about a 1/4 inch seam.

Pin these pieces to the front piece, right sides together and overlapping the back pieces.  Sew all four edges with 1/4 inch seam allowance.  Trim the corners and turn right side out.


Put the pillow in the pillow case and place on bookcase.  Tada!  A bench!

And she finally climbed up on it earlier this week.